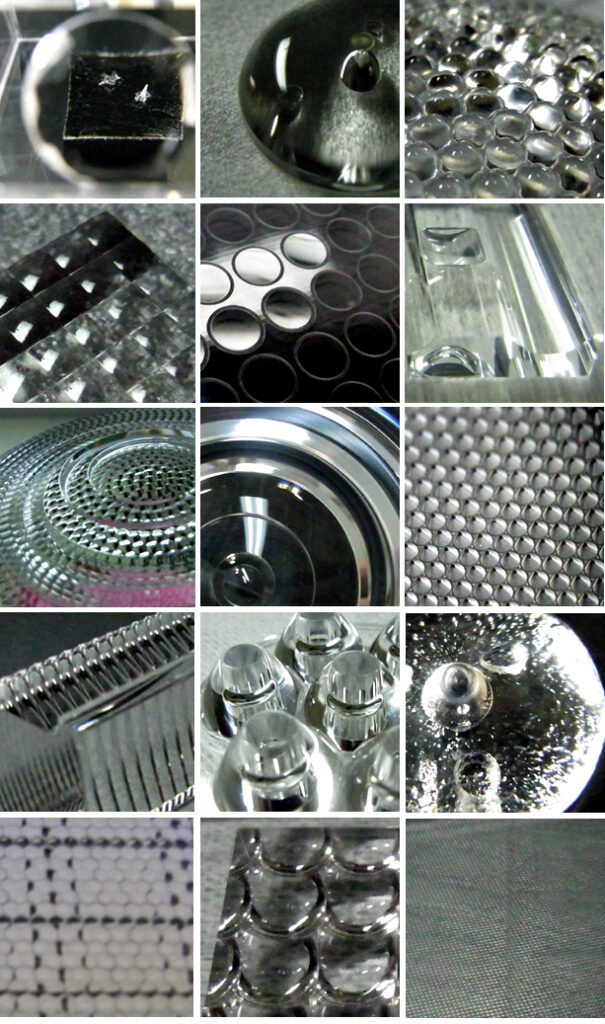
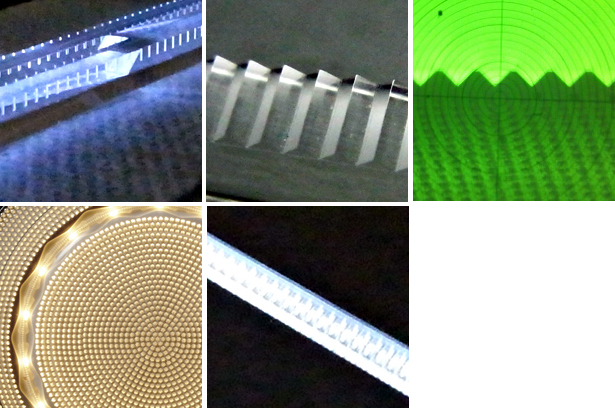
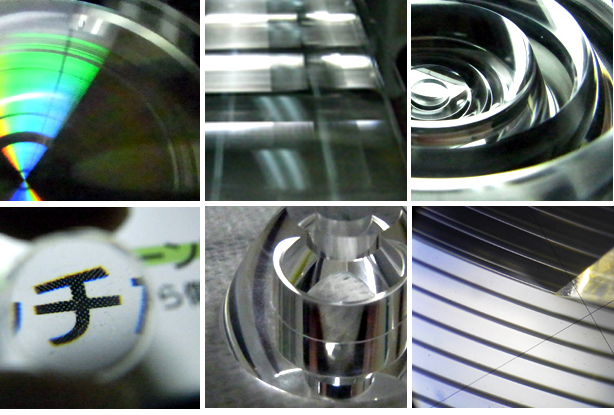
High precision lens, High precision Fresnel lens
We can provide high precision trial lens from a week after receiving of the 3D data. Without transportation time.

(CNC machining&Diamond turning)
We can correspond mathematical formula data of curvature and aspheric surface.
We process our products by using 1 nm control MC of Toshiba machine (ULC-100S).
Maximum work size is Dia 220mm.
We can provide products of submicron surface profile irregularity (PV value). *depend on size.
We measure surface profile by 3D surface inspection machine. Direct cutting of plastics, PMMA, PC, ZEONEX, OKP etc. is possible.

As you know, making a trial model of light-guiding panel and prism array needs initial cost.
We can offer trial model without initial cost. We process high precision optical parts by direct cutting with a single crystal diamond bite.
Please feel free to contact us.

As you know, making a trial model of light-guiding panel and prism array needs initial cost.
We can offer trial model without initial cost. We process high precision optical parts by direct cutting with a single crystal diamond bite.
Please feel free to contact us.

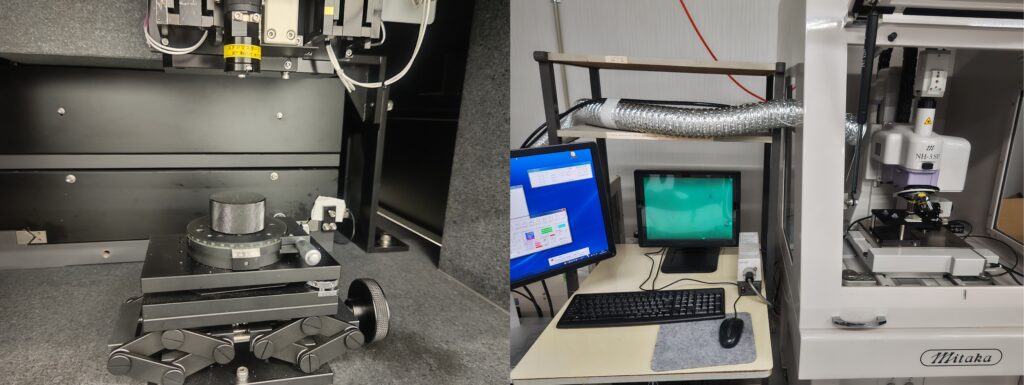
We measure surface profile irregularity and roughness of our products by two 3D measurement systems.
Panasonic UA3P-5
Mitaka Kohki NH-3 (AF 3D measurement system)
Mitaka Kohki NH-3SP (with θaxis for measurement of high NA)
Optical Solutions Corporation is supporting for outside of Japan business of Circle and Square Co. Ltd.

